
Meta Description:
Learn how to make authentic restaurant-style chola at home with this step-by-step guide. Discover secrets for perfect texture, spice blends, and delicious variations.
Introduction
The aroma of simmering spices slowly filling your kitchen. The deep, rich color of chickpeas cooked to tender perfection. The first warm bite that instantly transports you to the bustling streets of Old Delhi. There is something almost magical about a perfectly made bowl of chola.
I still remember my first attempt at making this beloved North Indian dish. The chickpeas turned out too hard, the gravy was watery, and the flavor? Let us just say it was forgettable. But after countless experiments, conversations with Punjabi grandmothers, and many burned spices, I finally cracked the code.
Here is the truth I wish someone had told me earlier: making exceptional chola at home is not about following a rigid recipe. It is about understanding a few fundamental principles and then making the dish your own. And today, I am going to share everything I have learned with you.
Whether you are a complete beginner who has never cooked Indian food before or someone looking to elevate their existing recipe, this guide has something for you. We will cover the science behind that iconic dark color, the spice combinations that create depth, and the little techniques that separate good chola from unforgettable chola.
So tie on your apron, gather your ingredients, and let us create something beautiful together.
What Exactly is Chola?
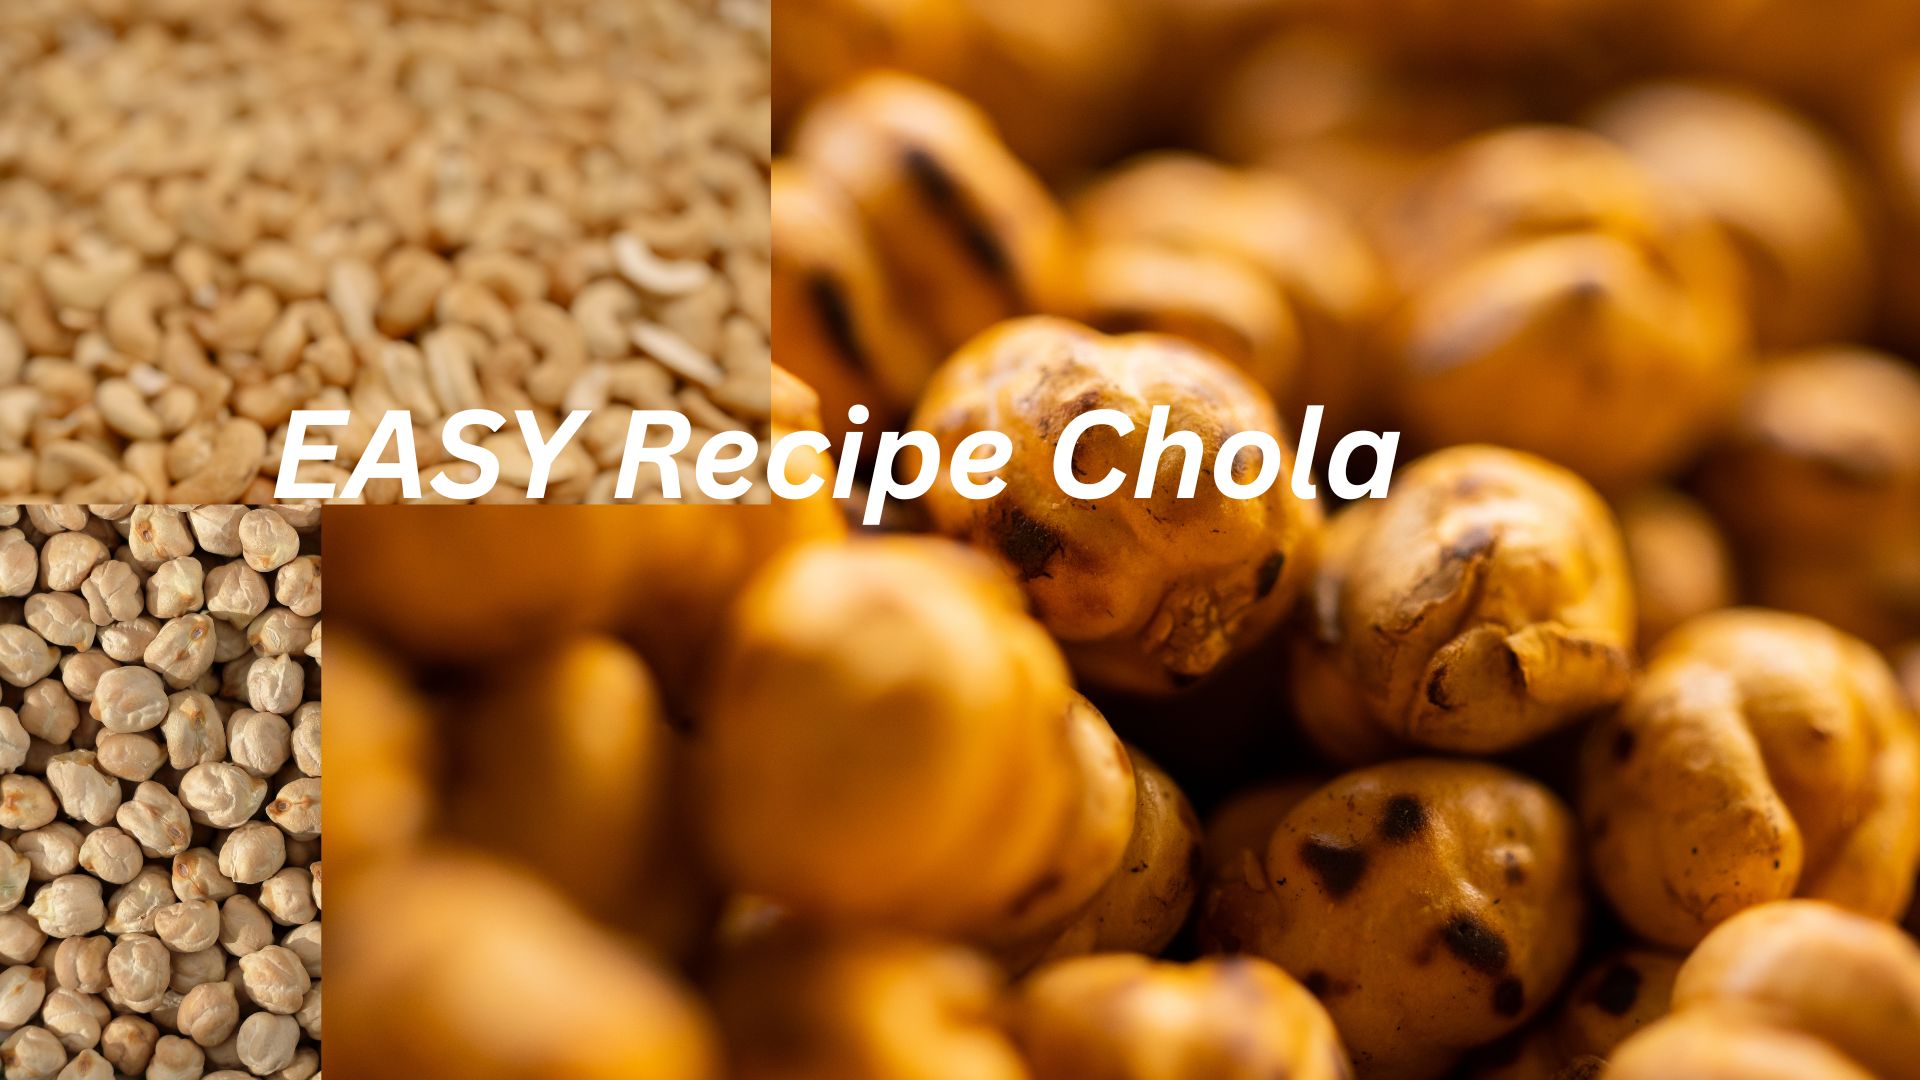
Before we dive into the cooking process, let us clarify what we mean by chola. The term “chola” typically refers to a spicy North Indian curry made from white chickpeas, scientifically known as Cicer arietinum and commonly called Kabuli chana or garbanzo beans. These are the larger, lighter-colored chickpeas, as opposed to the smaller, darker Desi chana.
The dish is known by several names depending on where you are. You might hear it called chole, chana masala, or cholay. Regardless of the name, the essence remains the same—chickpeas simmered in a fragrant gravy of onions, tomatoes, ginger, garlic, and a symphony of ground spices that create a taste profile both complex and comforting.
Interestingly, the term “chola” can sometimes cause confusion. In some regional Indian cuisines, particularly Gujarati, “chola” refers to black-eyed beans (lobia) rather than chickpeas. So if you are following a family recipe, it is always worth checking which bean they mean! For the purposes of this article, we are focusing on the beloved Punjabi-style chickpea curry that has become a global favorite.
The Secret to Restaurant-Style Chola: Color and Texture
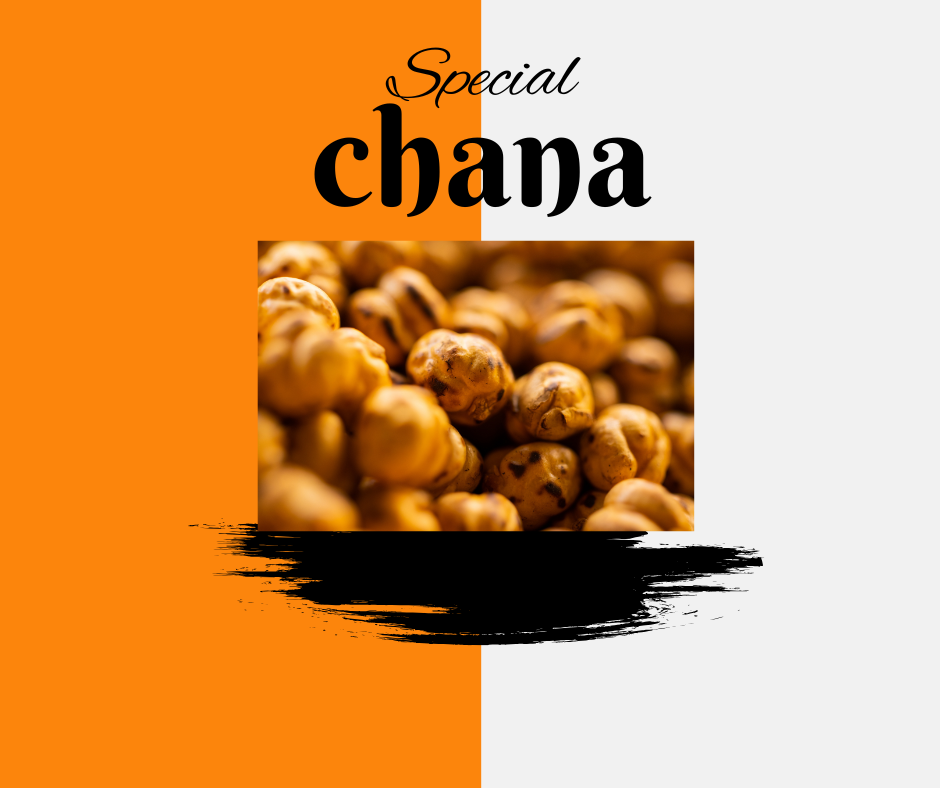
Have you ever wondered why the chola served in restaurants has that distinctive deep brownish-black color, while homemade versions often turn out lighter? This is not accidental—it is the result of specific techniques that professional chefs use.
The Tea Trick
One of the most popular methods to achieve that iconic dark color is using black tea. Here is how it works:
- Steep 1 tablespoon of black tea leaves in hot water, or simply tie the leaves in a small muslin cloth to make a potli (bundle)
- Add this tea bundle to the chickpeas while they are pressure cooking
- The tannins in the tea naturally darken the chickpeas, giving them that appetizing restaurant-style appearance
Many home cooks swear by this technique. Soaking chickpeas overnight in tea water results in dark brown cholas that look beautiful on the plate.
The Amla Alternative
If you prefer not to use tea, there is another traditional method. Soaking the chickpeas in water mixed with amla (Indian gooseberry) powder achieves a similar dark color while adding a pleasant tanginess. You can either purchase amla powder from Indian grocery stores or make your own by drying amla at home and grinding it into a fine powder.
Dried Gooseberries
Some recipes call for adding dried Indian gooseberries along with the tea leaves while cooking. This combination not only enhances the color but also adds subtle flavor notes that make the dish more complex.
The Onion-Tomato Base
The foundation of any great chola is a well-cooked masala base. The key is to sauté the onion-tomato mixture until the oil begins to separate from the masala. This indicates that the raw flavors have cooked out and the masala is ready to receive the chickpeas.
Essential Ingredients for Authentic Chola
To make truly memorable chola, you need to understand the role each ingredient plays. Let us break them down.
The Main Player: Chickpeas
You have two options when it comes to chickpeas: dried or canned.
Dried chickpeas are the traditional choice and yield the best texture and flavor. They require overnight soaking (8-10 hours) but reward you with chickpeas that hold their shape while becoming meltingly tender. Adding a pinch of baking soda to the soaking water can help soften them further.
Canned chickpeas are a convenient shortcut. If using them, drain and rinse thoroughly to remove the canning liquid, which can have a metallic taste. Reduce the cooking time since they are already cooked.
The Spice Symphony
Authentic chola derives its character from a carefully balanced blend of spices. Here are the essential ones:
- Coriander powder: Provides a warm, citrusy foundation
- Cumin powder: Adds earthy, nutty notes
- Turmeric powder: Contributes golden color and subtle flavor
- Red chili powder: Brings heat (adjust to your preference)
- Garam masala: A warming spice blend added at the end for aroma
- Amchur (dry mango powder): Provides tanginess without moisture
- Kasuri methi (dried fenugreek leaves): Imparts a distinctive, slightly bitter-sweet flavor that is the hallmark of restaurant-style chole
- Anardana (pomegranate seed powder): Adds fruity tanginess
- Black salt (rock salt): Offers a sulfurous, unique flavor that regular salt cannot replicate
The Aromatics
Fresh ginger, garlic, and green chilies form the aromatic backbone of the dish. Some recipes also include curry leaves for an extra layer of fragrance.
Step-by-Step Recipe for Perfect Punjabi Chola
Now that you understand the principles, let us put them into practice with a detailed, foolproof recipe.
Ingredients
For cooking the chickpeas:
- 1 cup dried white chickpeas (Kabuli chana)
- 4 cups water
- 1 black tea bag or 1 tablespoon black tea leaves tied in muslin cloth
- 2-3 dried Indian gooseberries (optional)
- Salt to taste
- Pinch of baking soda
For the gravy:
- 3 tablespoons oil or ghee
- 2 medium onions, finely chopped
- 2-3 green chilies, slit lengthwise
- 1 tablespoon ginger-garlic paste
- 2 medium tomatoes, pureed
- 1 teaspoon turmeric powder
- 1 tablespoon coriander powder
- 1 teaspoon cumin powder
- 1 teaspoon red chili powder (adjust to taste)
- 1 teaspoon amchur powder
- 1 teaspoon garam masala
- 1 tablespoon kasuri methi, crushed between your palms
- Salt to taste
For garnish:
- Fresh coriander leaves, chopped
- Ginger juliennes
- Onion rings
- Lemon wedges
Method
Step 1: Soak the Chickpeas
Wash the chickpeas thoroughly under running water. Place them in a large bowl and add enough water to cover them by at least 3-4 inches—they will expand significantly as they soak. Add a pinch of baking soda and let them soak for 8-10 hours or overnight.
Step 2: Cook the Chickpeas
Drain the soaked chickpeas and transfer them to a pressure cooker. Add fresh water, salt, the tea bag (or tea leaf bundle), and dried gooseberries if using. Pressure cook for 4-5 whistles on medium heat, then reduce the heat and cook for another 10-15 minutes. The chickpeas should be soft enough to mash easily with a fork but still hold their shape.
Once cooked, discard the tea bag or bundle. Do not throw away the cooking liquid—it is packed with flavor and will be used in the gravy.
Step 3: Prepare the Masala Base
Heat oil or ghee in a heavy-bottomed pan or kadai. Add the chopped onions and sauté until they turn golden brown. This takes about 8-10 minutes—be patient, as properly caramelized onions add immense depth to the dish.
Add the ginger-garlic paste and slit green chilies. Sauté for another minute until the raw smell disappears.
Step 4: Cook the Tomatoes
Add the tomato puree and cook on medium heat, stirring occasionally. You will notice the mixture changing color and the oil beginning to separate from the masala. This is your visual cue that the masala is perfectly cooked—it usually takes 5-7 minutes.
Step 5: Add the Spices
Lower the heat and add the dry spice powders: turmeric, coriander, cumin, and red chili powder. Stir continuously for about a minute to roast the spices gently. Be careful not to burn them.
Step 6: Combine Chickpeas and Gravy
Add the cooked chickpeas to the masala along with about 1 cup of the reserved cooking liquid. Stir well and gently mash some of the chickpeas against the side of the pan with the back of your spoon. This releases their starch and naturally thickens the gravy, creating a creamier texture.
Step 7: Simmer to Perfection
Bring the chola to a gentle boil, then reduce the heat to low, cover, and let it simmer for 20-30 minutes. The longer it simmers, the more the flavors meld together. Stir occasionally to prevent sticking.
Step 8: Finishing Touches
Add amchur powder, garam masala, and crushed kasuri methi. Stir well and simmer for another 2-3 minutes. Taste and adjust seasoning—you might want more salt, heat, or tanginess at this stage.
Step 9: Garnish and Serve
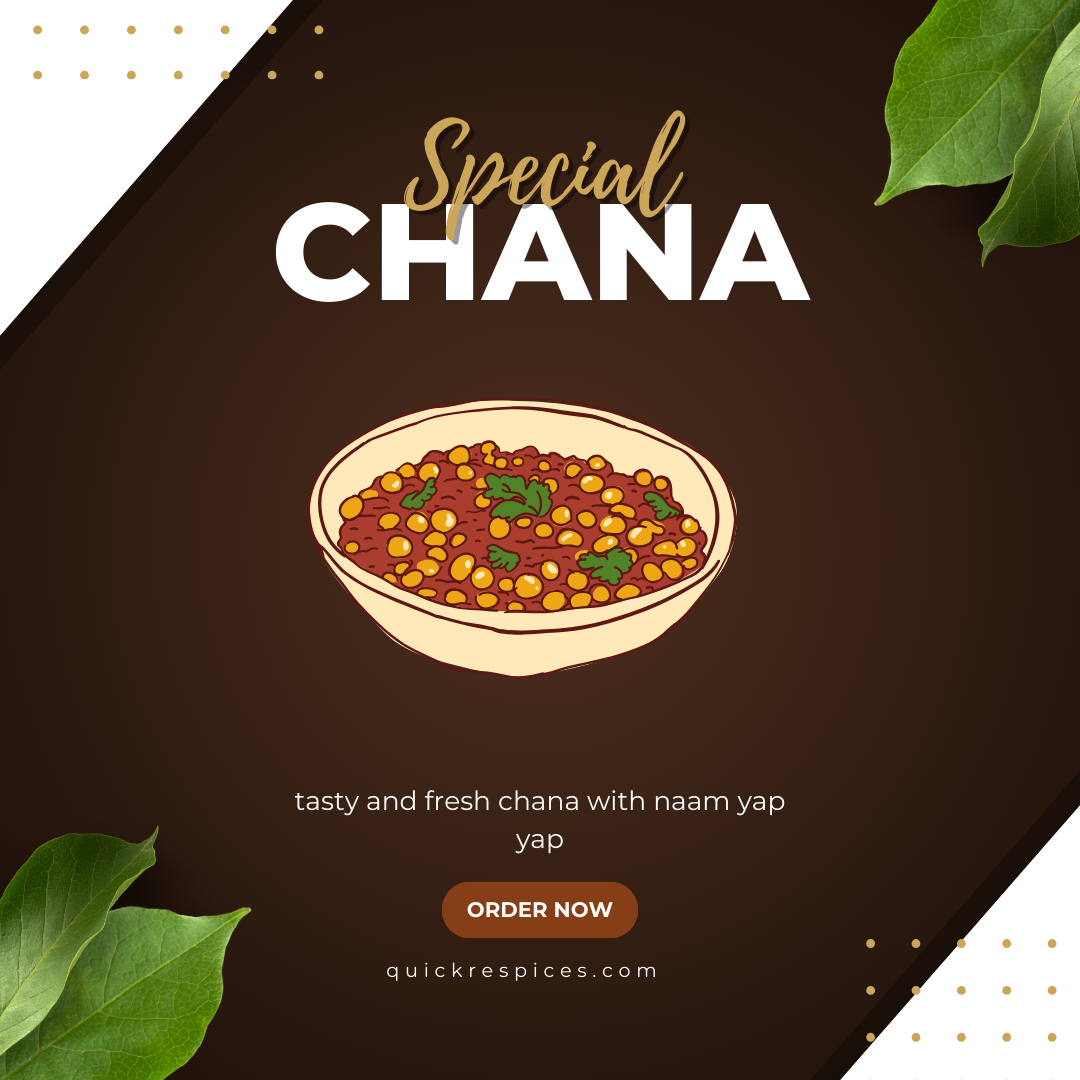
Garnish with fresh coriander, ginger juliennes, onion rings, and a squeeze of lemon juice. Serve hot with your choice of bread or rice.
Delicious Variations to Try
One of the wonderful things about chola is how adaptable it is. Once you master the basic recipe, you can experiment with these popular variations.
Pindi Chola
This dry-style preparation originates from Rawalpindi (now in Pakistan) and is characterized by its dark color and tangy flavor. The chickpeas are cooked with tea leaves or amla water, then tempered with butter and spices. It is typically drier than regular chole and has a distinctively bold taste.
Palak Chole
For a nutritious twist, add a cup of blanched and pureed spinach to the gravy along with the chickpeas. This not only boosts the nutritional profile but also adds a beautiful green hue to the dish.
Aloo Chole
Add boiled potato cubes to the chola during the last few minutes of simmering. The potatoes absorb the flavors of the gravy and add heartiness to the dish.
Khatte Chole
This version emphasizes sourness by adding extra amchur, tamarind pulp, or even a spoonful of yogurt. It is refreshingly tangy and pairs beautifully with rich breads.
Chola without Onion and Garlic
For those who avoid alliums for religious or dietary reasons, there is a delicious alternative. Skip the onion and garlic, add a pinch of asafoetida (hing) to the oil at the beginning, and proceed with the tomato-based gravy. The result is surprisingly flavorful and Jain-friendly.
The Perfect Pairings: What to Serve with Chola
Chola is rarely enjoyed alone—it is almost always part of a larger meal. Here are some classic accompaniments:
Breads
- Bhatura: Deep-fried leavened bread, the classic partner for chole
- Kulcha: Soft, leavened flatbread, often stuffed with potatoes or paneer
- Poori: Deep-fried whole wheat bread, perfect for soaking up gravy
- Naan or Roti: Tandoor-cooked or griddle-made everyday options
Rice
Plain steamed basmati rice or jeera rice (tempered with cumin seeds) makes a satisfying meal.
Raitas and Sides
A cooling raita balances the spices in chola beautifully. Popular choices include:
- Onion raita
- Boondi raita
- Cucumber raita
- Pudina (mint) raita
Accompaniments
Thinly sliced onions, green chilies, and lemon wedges are essential for that extra crunch and freshness. A dollop of butter on top of hot chola never hurts either!
Pro Tips for Chola Success
After years of cooking and learning from experts, here are my top tips for ensuring your chola turns out perfect every time:
- Soak adequately: Do not rush the soaking process. Eight hours minimum, preferably overnight. This ensures even cooking and better digestibility.
- Reserve the cooking liquid: The water you cooked the chickpeas in contains starch and flavor. Using it in the gravy adds body and depth that plain water cannot match.
- Mash some chickpeas: This simple trick thickens the gravy naturally and gives it a luxurious texture.
- Simmer patiently: Chola tastes better the longer it cooks. If you have time, let it simmer on low heat for 45 minutes to an hour. The flavors deepen and meld beautifully.
- Make it ahead: Like many Indian curries, chola tastes even better the next day. The overnight rest allows the spices to permeate the chickpeas completely. So do not hesitate to make a larger batch.
- Adjust consistency: Chola should not be too runny or too dry. Aim for a gravy that coats the chickpeas nicely. You can always add more water if it thickens too much upon standing.
- Toast whole spices: For an extra flavor boost, lightly roast whole cumin, coriander, and cardamom seeds before grinding them. This releases their essential oils and takes your chola to another level.
Health Benefits of Chola
Beyond its incredible taste, chola offers impressive nutritional benefits that make it a smart addition to your meal rotation.
- High in protein: Chickpeas are an excellent plant-based protein source, essential for tissue repair and muscle building
- Rich in fiber: The high fiber content aids digestion, promotes feelings of fullness, and helps maintain stable blood sugar levels
- Packed with vitamins and minerals: Chickpeas provide iron, folate, phosphorus, and B vitamins
- Naturally vegan and gluten-free: The basic recipe contains no animal products or gluten, making it accessible to many dietary preferences
The yogurt-based raitas served alongside add calcium and beneficial probiotics, while the spices like turmeric and ginger offer anti-inflammatory properties. It is comfort food that is actually good for you!
Troubleshooting Common Chola Problems
Even experienced cooks occasionally face challenges. Here is how to fix common issues:
Problem: Chickpeas remain hard after cooking
Solution: They were either not soaked long enough, or the water was too hard. Next time, soak for a full 8-10 hours and add a pinch of baking soda to the cooking water.
Problem: Gravy is too thin
Solution: Mash some chickpeas against the side of the pan and simmer uncovered to reduce. Alternatively, mix a teaspoon of chickpea flour (besan) with water and stir it in.
Problem: Gravy is too thick
Solution: Add more of the reserved cooking liquid or hot water until you reach the desired consistency.
Problem: Chola tastes flat or one-dimensional
Solution: It likely needs more salt, tang (amchur or lemon juice), or a finishing sprinkle of garam masala and kasuri methi. These final touches make a huge difference.
Problem: Chola is too spicy
Solution: Serve with yogurt-based raita and increase the amount of bread or rice to balance the heat. Next time, reduce the green chilies and red chili powder.
Frequently Asked Questions
Can I make chola in a regular pot without a pressure cooker?
Absolutely. Soak the chickpeas overnight, then simmer them in a covered pot for 1.5 to 2 hours until tender. Check occasionally and add more water if needed.
How long does chola last in the refrigerator?
Store in an airtight container for 3-4 days. The flavors often improve after a day.
Can I freeze chola?
Yes, chola freezes beautifully. Cool completely, transfer to freezer-safe containers, and freeze for up to 3 months. Thaw overnight in the refrigerator and reheat gently.
What is the difference between chola and chana masala?
The terms are often used interchangeably. Some regional variations exist, but generally, both refer to spiced chickpea curry. Chana masala sometimes has a slightly thinner gravy and may use different spice proportions.
Is it necessary to use tea for color?
Not at all. It is purely for visual appeal. Your chola will taste delicious even without it, though it will be lighter in color.
Conclusion
Making authentic, restaurant-style chola at home is not about following a rigid recipe or having access to special ingredients. It is about understanding a few fundamental principles—the importance of properly soaked chickpeas, the magic of a well-cooked masala base, and the finishing touches that elevate a good dish to an unforgettable one.
What makes chola truly special is how it brings people together. It is the star of weekend brunches, the comfort food on rainy evenings, and the dish that evokes memories of bustling Delhi streets or Amritsari dhabas. When you serve a steaming bowl of homemade chola to your family and friends, you are not just feeding them—you are sharing a piece of culinary heritage.
So go ahead, gather your ingredients, and give this recipe a try. Experiment with the variations, adjust the spices to your liking, and make it your own. Before long, you will have your own signature chola recipe that becomes a family favorite.
More Guide
http://We couldn’t find any internal links in your content.